Friday, 19 January 2018

Tam's first 'Holiday Challenge' Share for Scrap Matrix

Hi everyone,

I'm excited to be here today sharing the details of my first 'Holiday Challenge' for Scrap Matrix.

Such a great theme.....so many options!!!

Here's what I came up with.....


I scrapped a photo of a gorgeous sunset from a little getaway in Port Elliott (one of my fave and most peaceful places on Earth), and yep right around the corner from Vicki and Scrap Matrix.
Uh oh!
 
As a child, my grandparents lived at Port Elliott, so many a school holiday was spent here.
Such fond memories.
 
For the past 4 years, we've been going there as a family for a few days - sometimes even a week! in the January holidays.
So special to share this with my kids and to begin new traditions.
 
So I began this page by selecting a few papers from both 7Dots Studio and also Pinkfresh - Escape the Ordinary.


I began by adding some black paint to some 3D Gloss Gel and then applying this with one of my new AALL & CREATE stencils.


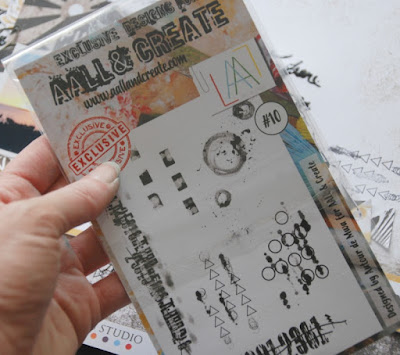
I then used one of their stamps - I just love this one and can't wait to do more with it, but for this one I just stamped randomly, concentrating on where the edges of the photos/papers would be.
 
 
I then layered a few 7Dots Studio tags together, ready for my photo.
 
I trimmed a strip from a Pinkfresh paper to create my title.

 
I then did some stamping using these funky AALL & CREATE stamps, to finish off my background.

 
I then placed my tags and photo onto my layout. 
I then began tucking and poking.....
I used some of the Ephemera from the Pinkfresh range, some metal flowers,  and a few stickers from 7Dots Studio.


I also added some extra texture by trimming some of the roses down from Heidi Swapp's 6x6 Mixed media Pack, and poking them behind my photo.

 
 Lots of layers, lots of textures.....
 

You may notice a few tags and stickers from the NEW 7Dots Studio Paint Chips range.....I LOVE this range, and can't wait to get stuck into more of it!!
It's right up my alley with bold colours and black!!


I stuck with blacks, whites and mustards for this layout, as I really wanted that gorgeous sunset photo to be the focus.


Notice how the stamping and the stencilling is clustered around the photo?
 
Remember how I didn't stamp all over the background, just where I knew it would show....there's no point stamping everywhere and then covering it all up!


So there we have it.....my first Holiday creation......if only every day ended this way....with a gorgeous peaceful sunset.

 
 Don't forget to load your holiday creations into the album over at Scrap Matrix Shares, and remember to list the Scrap Matrix Products you used in the comments.
 
I can't wait to see what you come up with.
 
Here's a reminder of the Holiday Challenge Moodboard:
 
 
I'll be back again soon with another 'Holiday' Creation.
 
 
Scrap Matrix Products used:
 

Sunday, 14 January 2018

My Second January 2Crafty Chipboard Share

Good morning all

My second creation for 2Crafty Chipboard this month is titled

"You Shine"


 A layout celebrating my kids academic achievements last year.....super proud of them.

I even broke into my new 7Dots Studio Paint Chips range.
I was so excited to get this range in - it's all about colour!
I got it from my favourite scrappy store Scrap Matrix.

 
 I used the following 2Crafty Chipboard:
 
"You Shine Title"
"ATC Tiny Hearts and Stars"
"Number Panels"
"Pine Needle Wreath"
"Crazy Stitched Panel"


I began by trimming down the "Crazy Stitched Panel" and painting them black.
These formed part of my background.

I also added lots of stamping on the background using my new AALL & CREATE stamps available at Scrap Matrix.
I'd been busting to use these!!!


I painted the "Number Panels" black and then swiped them with some Finnabair Opal Magic Acrylic Paint in Aqua/Rose.
Gawd I love this stuff, available over at Scrap Matrix.
When swiped over black this paint gives a lovely teal metallic finish.  I applied it randomly as I wanted it to have a grungy finish to go with my background.


 I painted a "Pine Needle Wreath" in white gesso.  These are a new 2Crafty product, and they are gorgeous.....not just for Christmas time!  I poked this behind my photo.


I added the "You Shine" title on top of my photo, and coloured it using Distress Inks. 
I love the matt finish and the grungy look it gives the chipboard.


Finally I added some stars from the "ATC Tiny Hearts & Stars".
I again used Distress Inks and a few swipes of the Opal Magic paint, and placed them randomly on the layout.
 
A page celebrating my amazing kids.....what a year they had in 2017.
Here's to another great one!


Saturday, 13 January 2018

My first 2Crafty Share for January

Good morning all.
 
I'm excited to be back again on the 2Crafty Chipboard Design team for 2018!
Such a great team to be a part of, and I always have such fun using their amazing chipboard!

Today I'm sharing my first January project with you. 
 

"A Day at the Beach"


This is what a New Year's Eve looks like in Australia..... a warm night spent at the beach with family playing cricket.  Perfect!
 
I used the following 2Crafty Chipboard:
 
"Day at the Beach title"
"6 inch Revolution Frames"
"Circular Panel"
"Hessian Patch Panels"


I cut one of the "Hessian Patch Panels" in half and then applied white gesso.
I popped this behind my photo.
 
 
I also applied white gesso to a small circle frame from the "6 inch Revolution Frames".
I added this on top of my photo, to frame the focus of it.


I then added the "Day at the Beach title".
I love the mix of fonts in this....the print mixed with the script.
 
I applied a few layers of  Distress Inks in various colours  to the title until I achieved the colour I was after - I don't have purple so I kept applying teals and pinks until the right purple appeared. 
I love the splodginess (is that a word?) of this. I think this adds to the beachy water theme.


I added some circular stamping to my background, and cut a few circles from the "Circular Panel" to  add to the background, giving some texture and interest.
I like how the circles go with the water/beachy theme too.


 To colour them, I added gesso and then couldn't find my brown ink, so I created my own using coffee!!
When I create, I don't like to spend a lot of time searching for something, so I get creative and work with what I have.....so on this occasion, coffee it is!!!


 I added some little waves created by using the gorgeous metal die "Wiggle Waves" by
Uniquely Creative.
Perfect for this layout!


I also had fun adding in some of the cool Art Stones, which I purchased from Scrap Matrix.
I also used some tags from 7Dots, which seem to appear on all my projects!
 I also purchased these from Scrap Matrix.

 A page celebrating summer in January in Australia!


Well that's my first creation......

Looking forward to sharing my second one with you all in a few days

Much Love
xxx


Tuesday, 2 January 2018

PaperArtsy Layout for Scrap Matrix

Good morning everyone!

I'm back to share my second creation using some of the awesome Paper Artsy stamps available from Scrap Matrix.

Last time I shared a bold floral page, so this time I thought I'd challenge myself and create a boy layout using the same stamps.

Here's what I came up with:

 
I really love it, those stamps are just so easy to work with.
 

So I began with the Paper Artsy Tracy Scott Stamps


This time I decided to work with the scribbly swirly circles in the top right corner.

I began by applying Clear Gesso to a 7Dots paper. 

You may be able to notice a bit green blob on the paper - this is not part of the design.  A couple of weeks ago, whilst creating, I accidently spilled a bottle of Dylusions Spray Ink over 5 7, Dots papers!! Oh no.  A tragedy.
My first thought was to bin and order more (lol), then I thought I'd cut them down for layering behind my photos, but I've acutally used 3 of them already - I just covered up the gorgeous green spillage, or went with it to make it look like it was done on purpose! This one is an easy one to cover up, as its only in one area.


Once this is dry, I applied some Dylusions Spray Ink (on purpose this time) using the plastic packaging method.
Just spray some onto some old packaging, add a spritz of water, and then randomly splodge it over your paper.


I love the effect it gives, and it's super easy!


I went with London Blue Dylusions Ink Spray, as my photo has a strong blue in it.

Whilst this dries, I also coloured some guaze - just simply spray and let dry.

 
Whilst this is drying, I gathered a few 7Dots tags to create a background to my photo.
I adhered the guaze on top of these.


Time to go back to the background paper.  I did lots of background stamping using those cute little oval swirls in the PaperArtsy set, and also some 7Dots stamps as well.


I then added in some of this mesh paper - it's from a Heidi Swapp Die Cut pack.


I then adhered this little stack onto my background paper - making sure to cover up that little accident.


I used the 'plastic packaging' technique again, and splodged some 'London Blue' and 'Fresh Lime' Dylusions Ink Spray onto some white cardstock.


I then stamped the circly swirls on top of this, and cut them out.  So simple and I love the bright colours.  I also love a bit of the white showing through.


Now it's simply time to add these to the layout.

I adhered some flat and some with foam tape to add height and dimension.  I made sure I tucked some inbetween my layers, and I also wanted them to run from the top left corner to the bottom right. 
This creates some movement within the page.


I then added a few bits of German Scrap, and an arrow and a heart from a 7Dots Element Shapes.


Finally, I added some 13 Arts Clear stickers for my title.


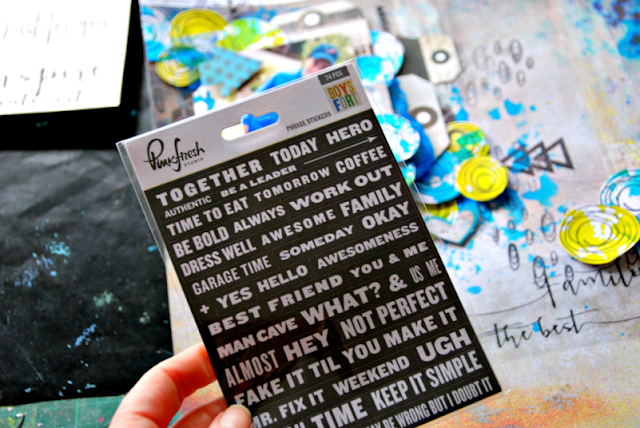
and some word stickers from Pinkfresh and 7Dots.


I have a real addiction for word stickers - can't resist them.


and there you have it! A fun, stamped boy layout! - Not a flower in sight.


I hope this layout has inspired you to get stamping.....I also hope it gets you to look at your stamps a little differently.
How can you use them in a way you haven't before?

Well that's it for me this time around. 
If you'd like to see more of my work you can go to my BLOG, or check out the 'Tammy' Album over at Scrap Matrix Shares.

Speaking of that lovely little space......there's still time to create something for our current PaperArtsy Challenge!  Just feature something from Paper Artsy on your layout and add it to the folder. Vicki is giving away vouchers to the store again and she truly has the most amazing products!
Don't forget to mention what Scrap Matrix Products you have used on your layout (the more the merrier).
I've listed everything I used below, with links to the products in the store.


Clear Gesso
7Dots Word Stickers