Thursday 27 June 2019

2Crafty is sponsoring CSI

Hi there Creatives,

I've popped in today to share my latest 2Crafty Chipboard  layout titled 

'Summer Days'


It's freezing where I live in Australia right now, so the next best thing is to scrap summer memories. 


This one has been created for CSI as 2Crafty Chipboard are the sponsors this month.

This one is Case No 285.

I used the following 2Crafty Chipboard:

'Summer Days Title'
'Clouds'
'Flowers Frames'
'Tree with Sparrows'
'Polaroid Assorted Frames'


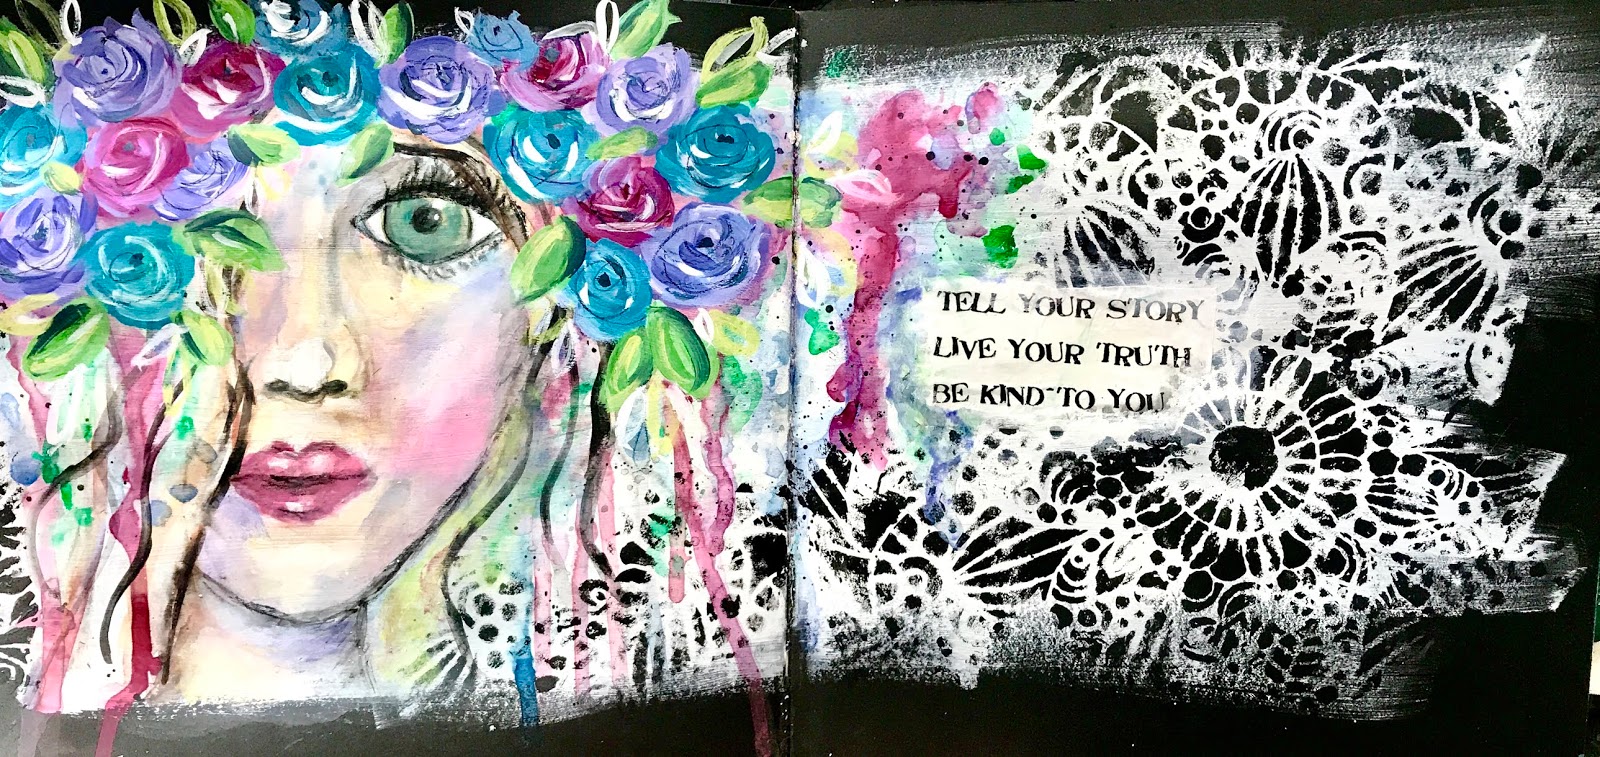
To the 'Clouds', I added white gesso, and then some acrylic paint.

I added a few doodles with black pen, as it just suited the whimsical feel. 


For the 'Summer Days' title I firstly coated with white gesso and then added acrylic paints in stripes, creating a sunset feel, which always reminds me of the beach.


To the top of the title I added a bird from the 'Tree with Sparrows'.

I just gave it a coat of white gesso and paint, and then added some pen marks.


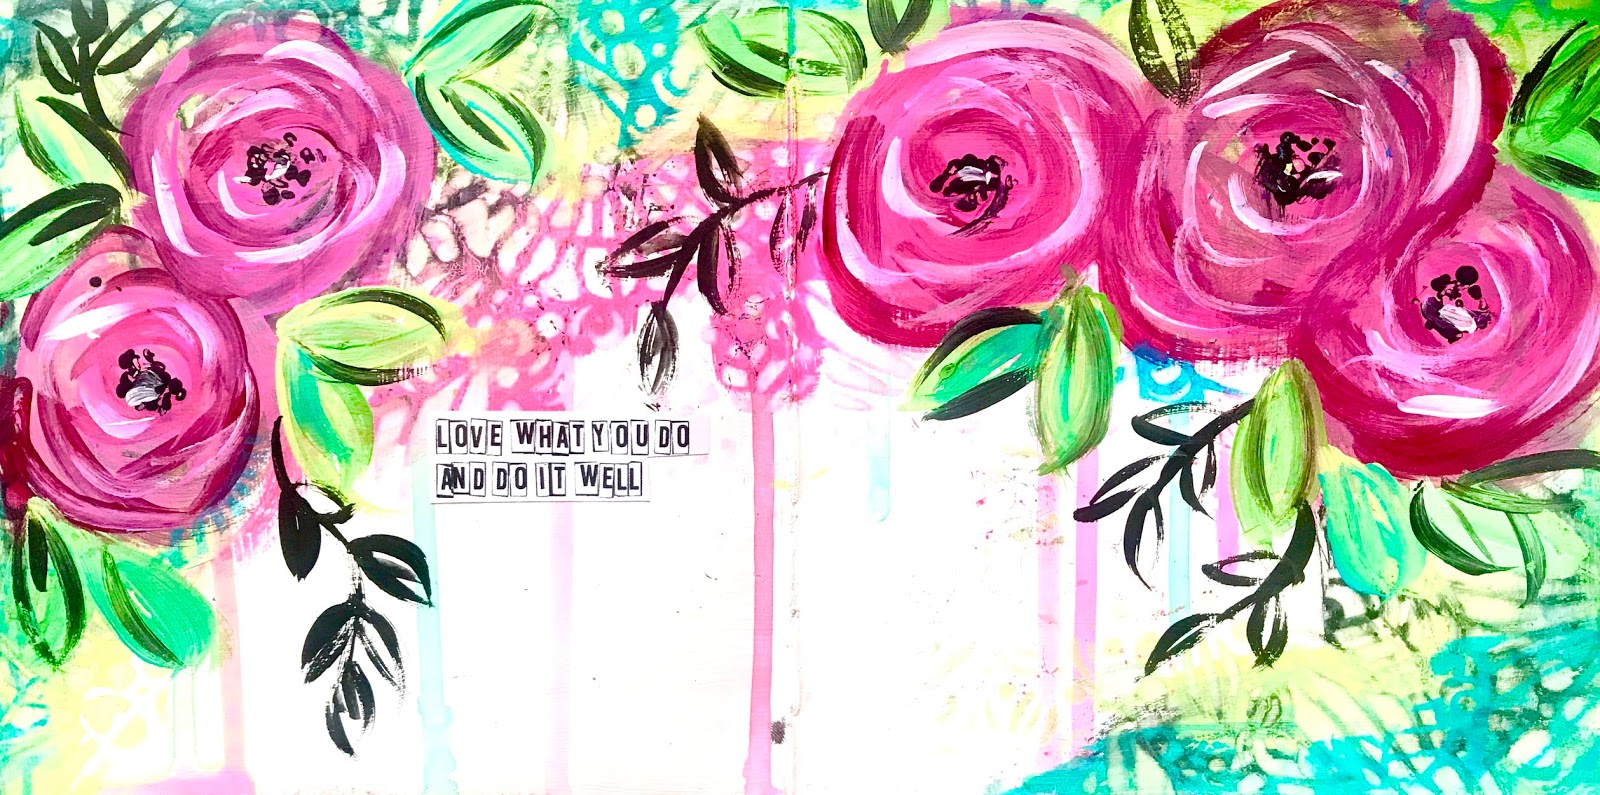
I also added in a few of the 'Flower Frames'.

I added white gesso, and then just lightly brushed some paint mixed with lots of water over the top.

I then tucked these amongst my layers.


To finish off the layout, and to draw attention to the photo, I added a frame from the 
 'Polaroid Assorted Frames'.

Of course I added some doodling.

So here's a summary of how I cracked the case.....
Case #285.
I used the colours and ....
Evidence - stripes, flowers, sum, clouds, wet medium, pattern with leaves, sunglasses and a bird.....
Testimony - Summer Vacation topic


That's it from me today, I hope you join in the CSI challenge, and dig out some 2Crafty Chipoard!!


Wednesday 12 June 2019

Another play with 'Art by Marlene' Products

 
I've popped in to share another bright and colourful creation for the current 'Art by Marlene' Challenge over at Scrap Matrix
 
I love how inspired you all are since the Marlene visit. (me too!)


Inspiration for this came for my love of colour!!
 
Some days, especially on these cold wintery ones, it explodes out of my brain!
Just like this.....


Let's take a look at how it came together.....
 
I recently purchased the large album - I just ADORE the cover, so it was time to crack it open.


Those flowers on the cover really excite me, so I decided to paint some of my own.
 
So I cracked open my new 'Bold and Bright' Watercolour Set and began with circles and leaves.


Gorgeous colours - quite bright for watercolours! (yay) and don't even get me started on the teal!!!


I then added in black and white paint and cut them all out.


I drew a face and knew I wanted all the flowers to be in her hair so I created a background with the watercolours.


Using the 'TCW Stencil - Blooming Garden' I then added some watercolours and wiped through the stencil to remove some of the paint and add a little texture and depth.


Once dry I randomly stamped over this.
This pattern was a perfect fit.


I then filled in the face with the watercolours.
Faces are HARD!!
 
I also felt like it was quite pinky/purple so I decided to add in some yellow.


I did this with the flowers too.
 
I then began to layer up the flowers I'd cut out and lots of the Die Cuts from Book 3.
 
 
I even cut some of the flowers and leaves from the Collage Paper Book #4


I stuck it all down with Matte Gel.
 
Layer upon layer of colourful flowers!!


I then added that sticker....it was perfect cause she is definitely wearing her art!!


I finished off by adding some die cuts to her neck....the colours matched perfectly!


That's it from me today!!
 
I hope its inspired you to play with your Art by Marlene products!


I hope you play along with us this month.
 
Just create whatever you like using Art by Marlene products available from Scrap Matrix and upload your creation to our Scrap Matrix Facebook Shares page.
Don't forget to let us know in the comments what products you used.
 
That's it....you could win a shopping spree (voucher) at Scrap Matrix, so you can buy MORE products or you could be asked to be a guest designer.
 
Now that is cool!
 
Luv Tam
xx
 
 
Scrap Matrix Products used:
 

Monday 10 June 2019

Art Journaling

I thought I'd pop in today and share a few recent Art Journal pages that I've recently worked on.

I am quite new to the Art Journaling thing but am loving the freedom and opportunity to play.

I'm even attempting the 100 day challenge.....not doing something every day, just when I can. My life has enough pressure on me without adding more. I figure eventually it will add up to 100 days of creating, and that will be a huge accomplishment.

So let's have a look at a few of the recent pages.....


This is my current fave


A gorgeous friend handmade me a smaller art journal.....I absolutely love it. It certainly takes the overwhelming blank page factor out of the excuses list.....it just feels more manageable to me.


These couple were using the 'serviette' method......how have I not done this earlier??? I love it!!


So often I find myself going back to these simple roses....


That will do for today.
I will pop in again soon with a few more to share.

Much love
Tam
xxx

Monday 3 June 2019

Art by Marlene for Scrap Matrix

Today I'm here to show you how I created my layout for the Monthly Challenge over at Scrap Matrix.

This month we are all about 'Art by Marlene'
After all she is a guest teacher at Scrap Matrix in June.....
how cool is that!


Yep typical of me....an explosion of colour!!!


So let's start at the very beginning....
(A very good place to start lol...)  Are you singing?

I began gathering all my NEW Marlene Products...


Naww, look at my Maisy....always by my side when I create.

I just knew I wanted to use that gorgeous Texture Plate, so I pulled out my Gel Press

I began by adding some Dina Wakley paint in Blackberry and White .


I rolled it out using my brayer.


I then grabbed one of the new Foamies (Rebekah Meier - Broken Blocks) and stamped it into the paint, and then onto my white background. 

I just repeated it until I was happy.


I LOVE the effect of this!!

Normally, getting an effect like this would take heaps of  effort....and lots of water which would warp my page.  
This literally just took 2 minutes and absolutely no water - just paint.....so my page stayed flat AND it looks amazing.


As I had paint left on my brayer, I rolled it out again and then lay down the texture plate.

I stamped this off onto some cardstock PLUS did a 'pull' of the gel plate.
(If this makes no sense just keep reading, as I forgot to take a photo of this step, but have repeated it later with another ).

Above is what I achieved!!

I decided the background needed some depth so I added in a few more foamie stamps using 'Fuschia' paint.

I then dug out an older Art by Marlene Stamp that I keep forgetting is in my stash.
This is the perfect month to try it out.


I stamped this randomly over the purple background paint....


ok background done, lets allow it to dry...

Time to crack out that texture plate....

I added Dina Wakley Paint onto my Gel Press.

I used the colours 'Peacock' and 'Lime'.


I used the brayer to spread it and then placed the Texture Plate on top.


I then stamped this off onto white cardstock, and then 'pulled' a print from the Gel Press.

Oh my goodness.......just look at that!!


I kept going until my paint and brayer had run out.....
let's take a look at the results.....
Wow!


I repeated the above process using black paint (I just forgot to take photos!!)

Ok, so from here, I began to cut them out....I just knew I wanted to use them as embellishments.


You'll notice in there some black and white centers....
these come from the Whimsy Sticker Pack.
These are out of stock right now but message Vicki and she can order them in for you.

I also popped out a few of the Die Cuts from the 'Die Cut Booklet'
Same as above - so get your message to Vicki


Time to get layering.....I added these onto the background I created earlier.....some with foam tape to give extra dimension.


I also added in a few quote stickers, again from the Art by Marlene Sticker book....


and a border around the edge using my Fudeball Pen.
It just suited the 'whimsical feel'.


Here's a few more close ups.....


I'm loving those colours together!!


So that's it from me... ...

I can't wait to see your entries using products from 'Art by Marlene'.

Just create whatever you like using Art by Marlene products available from Scrap Matrix and upload your creation to our Scrap Matrix Facebook Shares page.
Don't forget to let us know what products you used.

That's it....you could win a shopping spree (voucher) at Scrap Matrix, so you can buy MORE products or you could be asked to be a guest designer.

What a month it's going to be!!!!

I'll be back again soon

Much love
xxx


Scrap Matrix Products used:
 
Art by Marlene Die Cut Booklet 
Art by Marlene Whimsy Stickers