Thursday 27 September 2018

Selfie Love

Hello there, I've popped in today to share another of my 2Crafty Chipboard Creations.....
 
This one is about some selfies I found on my phone, after a day spent with Cousins.
 
It made me smile, and I knew I wanted to scrap it.

"#Selfie"


I used the following 2Crafty Chipboard:
 
"Checkerboard Panel"
"Geometric Arrows"
"Mini # Word Set 2"


As the stars of this layout are teenage boys, I decided to use a black background, and add some bright blues and limes and also some grunge to the page.
 
I painted the background using Dylusions Paints - love their vibrancy on black.
 
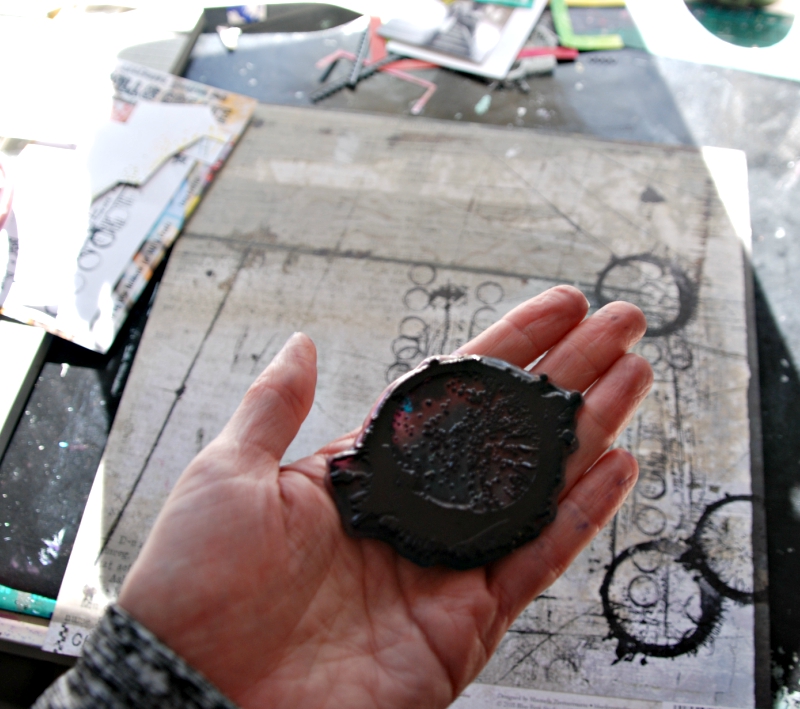
I then used black gesso and a stencil by AAll & Create, and some stamps by Aall & Create and PaperArtsy, to add a bit more grunge.
 
I added lots of tags and word stickers by 7Dots Studio too.
 
These are all available from my fave scrappy store, Scrap Matrix.


For my "#Selfie" Title from the "Mini #Word Set 2", I added black paint and placed it on top of a tag to enable me to give it some height on the layout.


I painted the "Geometric Arrows", firstly with white gesso and then I added some Dylusions Ink Sprays in 'Polished Jade', 'After Midnight', 'Fresh Lime' and 'Vibrant Turquoise' (again from Scrap Matrix).
 
Instead of spraying them on, I opened the bottles, and painted on the ink spray with a brush. 
 
I really love the effect this gives, and I love that I can layer up a few colours for an ombre look.


I wanted the "Geometric Arrows" to look like they were travelling across the page, so I  snipped some in half, tucking some underneath and placing some so it looked like they were going off of the edge of the layout.
 
This helps to create movement and flow to the page.


I just adore these "Geometric Arrows".
 
They are a recent addition to the 2Crafty Chipboard Range, and I just know I will use them a lot.
 
Perfect for boyish pages, travel pages etc.


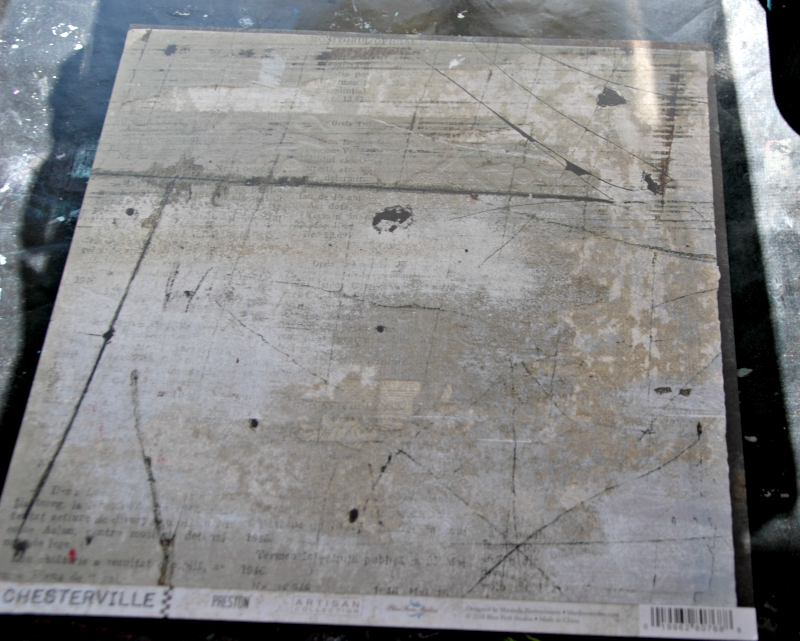
Underneath all my layers, I added the "Checkerboard Panel".
 
I applied white gesso, and then added some random stamping in black ink.
 
I wanted to achieve a grungy/boyish look.


I also added some to the right hand side of the page, poking out from underneath the tags.


I love the way this one came together.


I hope this has inspired your to get creative.....


Wednesday 12 September 2018

Frame upon Frame upon Frame for Scrap Matrix

Hello there, I've popped in today to share another 'You've been Framed' Creation for Scrap Matrix.
 
This one is a bright, goofy fun page celebrating our awesome table at the final escape2create.
 
So sad this event has retired, but love all the awesome memories!!


Not only have a gone to town stamping frames, I've also used photos with a frame!


As per usual, I've gone with COLOUR and black and white!!
Tam style for sure.


It came together pretty quickly, so let's see how that happened.
 
I began with white cardstock, which I added white gesso all over.


Once dry, I added paint. Of course after the recent Tracy Scott event at Scrap Matrix, I just HAD to use some of her PaperArtsy Paints!


I went with my fave colour combo Slimed, Sargasso, and Beach Hut.


I added more water towards the bottom of the page, as I wanted the colour to fade and look ombre.
 
I love that some of the colours are translucent, and some opaque.
I totally select by colour, so I always get a bit of a surprise when I paint them on.


I then used TCW Stencil 'Mums '.
I selected a flower and then added texture paste, mixed with PaperArtsy Snowflake paint through the stencil.


I ensured that the flowers were partly off the page to create a flow and more natural feel.


I then dug out some AALL & Create stamps that contained lines.
 
I stamped these onto page using Archival Ink and  ensuring each one was stamped so that it became a square or rectangle, to create my own stamped 'frames'.


Again I made sure some were going off of the page.
 
At this point I created some layers behind my photo using scraps and tags.
(Sorry forgot to get a photo of this - totally immersed again!)


I then added black gesso to some metal flowers and I poked these into the layers, and also trimmed some in half and added them to look like they were also going off the layout.


For my title, I recently purchased these cool Alpha stamps by Tim Holtz.
 
Using black gesso, I stamped them directly onto the layout.


To go with the fun theme, I decided to have my title in different fonts, so I used a sticker from Heidi Swapp Epoxy titles.


I then added my journaling below this using a Fudeball pen - love these so much for writing on mixed media!!


I also decided to add a few more frames in by doodling with the Fudeball pen.
As is always the case with me, once I began, I found it difficult to stop!!
 
This pen just glides and makes it super easy.


I created a index tab using this PaperArtsy stamp, and tucked that into my layers too.


I think it suits the fun vibe really well.


Here's a pic of the layers behind the photos......


And that is that!!
 
I hope I've tempted you to have a go, and enter our challenge this month.
 
As usual, you could win a Scrap Matrix voucher, and even the chance to be a guest designer!!
 
So head on over to our Scrap Matrix Shares Facebook Group, and pop your entry - whether it be a layout, a journal page, some cards, a canvas, whatever you like - into the 'You've been Framed' Album and let us know what Scrap Matrix products you've used.
 
(please note there needs to be at least ONE SM product on your creation - the more the merrier!)
 
Below you can find the list of products I used.
 
Happy creating and sharing!!
xxxx
 
 
Scrap Matrix products used:
 
White Bazzill


Saturday 8 September 2018

This Girl.....for 2Crafty Chipboard

 
I've popped in today to share my latest 2Crafty Chipboard creation.
 
This one's titled:
 

"This Girl"


A layout about my gorgeous niece. Isn't she just divine?


I used the following 2Crafty Chipboard:
 
"This Girl Title"
"Rose Set"
"Flower Doilies"
"Pine Needle Wreath"


I began by painting all of the chippy with a couple of coats of white gesso.
 
To the "Pine Needle Wreath" I added white acrylic paint. Simple, easy, yet a great contrast.
 
 
I then painted the largest doily from the  "Flower Doilies" set with my fave Dylusions Ink Sprays, available from Scrap Matrix
 
I love using this technique.  Instead of spritzing them on, I open the bottles and paint it on with a paintbrush. It gives a more intense colour.
 
For this I used the colours 'After Midnight' and 'Lavender'. I love adding them over the top of each other in sections as this creates an 'ombre feel'.
 
 
I repeated this process on the roses in the "Roses Set".
 
I then painted the leaves/branches with white acrylic paint and then added some doodling with a black marker.


I love that this ties the layout together, and the effect on the chippy co-ordinates with the flowers that I stamped and fussy cut out using an awesome stamp by AALL & Create available from Scrap Matrix.
 
 
To the "This girl title", I added white paint to the bottom word, and added navy acrylic paint to the cursive word.
 
I love the 2Crafty titles with the dual fonts, and I love painting them different colours to match my layouts.


So that's it from me today, I hope it's inspired you to get creating.


Monday 3 September 2018

My first Scrap Matrix Challenge .....FRAMED!

Hello I've popped in today to share some Scrap Matrix goodness.
 
As I put this post together, I've just returned from a wonderful weekend away at Scrap Matrix. I got to take some wonderful 'Tracy' Classes and spend some time with Vicki and many of the gorgeous Scrap Matrix family. I truly think that was the best part.....meeting so many of my online friends, connecting, laughing, creating together.
Needless to say, I am totally inspired and keen to play, but first things first.....paperwork, also known as blogging!
 
So the new challenge is all about Frames.
Frames are so important. They create focal points, they draw the eye into the layout and the story. They highlight.
Here's what I created.....


Lots of coloured frames created with my gel plate!
 
A layout about my girl and her attending the Adelaide Uni Open Day as she plans and prepares for the next part of her life.  Eeeekk!!!


This next phase has certainly been causing me some anxiety! Feeling like time has slipped by and I'm so not ready for this independence, for her to move not only out, but away.
 
Attending this day changed that shift for me.
She looked so content and happy here, in fact she kept saying 'I could so study here', as we'd find another little study area on campus.
I could totally see her here.


 So let's look at how this layout came together.....


I began with my background paper.


I added stamps from the AALL & Create Stamp #60. I used the circle stamps in particular and added them in the area where I knew I wanted to add my photo.


I kept building up the layers.


Yep happy with the detail around the photo.
 
Right time to create the frames.
 
I began by gathering some papers I'd created previously using my Gel Plate.
 
 
I randomly cut out lots of different sized frames.
 
 
I added them all around the photo, and even on top of the photo.
This really draws the focus into the photo, and onto the subject, my gorgeous girl.
 
I adhere some with glue and some with foam tape for extra dimension.
 
 
I added some German Scrap, creating frames with them.
 
The black really helped the coloured frames to 'pop'.
 
 
Time to start adding embellishments.
 
For my title, I used some clear stickers by 13Arts.


I trimmed them and added them onto my photo.....the saying was just perfect for the story behind the layout.


I also added in my journaling on a tag I cut from black cardstock.
 
I slipped in a few word stickers by 7 Dots.


I added my fave 7Dots Studio stamp - those tiny little flicks.
 
They look just like splatters, but the best part is that I have control over them!
 
 
I love that they always 'finish off' the layout.


The final step in this layout is to add black paint around all of the edges to 'FRAME' it.
 
So.....are you entering the challenge this month??
 
Vicki is offering a voucher to her awesome store and perhaps the opportunity to Guest Design.
 
Just add your creation - layout, art journal page, cards, tags, whatever it is to our Facebook Shares Group and let us know which products from Scrap Matrix used on your Frame inspired creation.
 
 
I'll be back again soon, so keep checking in!!


 Scrap Matrix Products used:
 
Dylusions Paint - Fresh Lime, Lemon Zest
Dina Wakley Paint - Ocean, Fuschia,black