Friday, 12 July 2019

I just can't stop playing......

Hey there creatives.
I've popped in to share another Scrap Matrix creation.

So....have I had fun with the current moodboard!
I may have got carried away.

As my go-to colours are generally blues, greens and teals,  playing with oranges and pinks was a bit of a challenge....but one I LOVED and once I started, I couldn't stop.

That's the beauty of  challenges. 
They force you to try something different....to think outside the box.


I began with this one, firstly drawing the face and then adding in lots of Tracy Scott flower stamps in the hair. 

I used Set ETS124 and ETS21

All the colour was added using Art by Marlene's watercolours in Bold and Bright.


To be honest, I don't like this one, I felt like I'd ruined the scribble flower by adding in black outlines.


You see I tried stamping and embossing with them, but it didn't work and I tried to cover it up with thicker lines.


After lots of fiddling, I just resigned myself to the fact that it hadn't worked, and it was time to move on.

Always good to try things out though, sometimes they work, sometimes they don't.

So time to turn a new page......


This one was inspired by Michelle Grant. I love her flowery hair designs.

I also combined it with a previous post I did where I created watercolour flowers in the background of a scrapbook layout.....here's a reminder of the page.....and you'll find the details HERE.


I really enjoyed creating flowers out of blobs, so using the same technique, I again created a face, then added some watercolour blobs around the face using Art by Marlene Watercolours.


I let them run and then once dry went in and drew in flowers with a black pen and a white pen.

I just love those drips!!
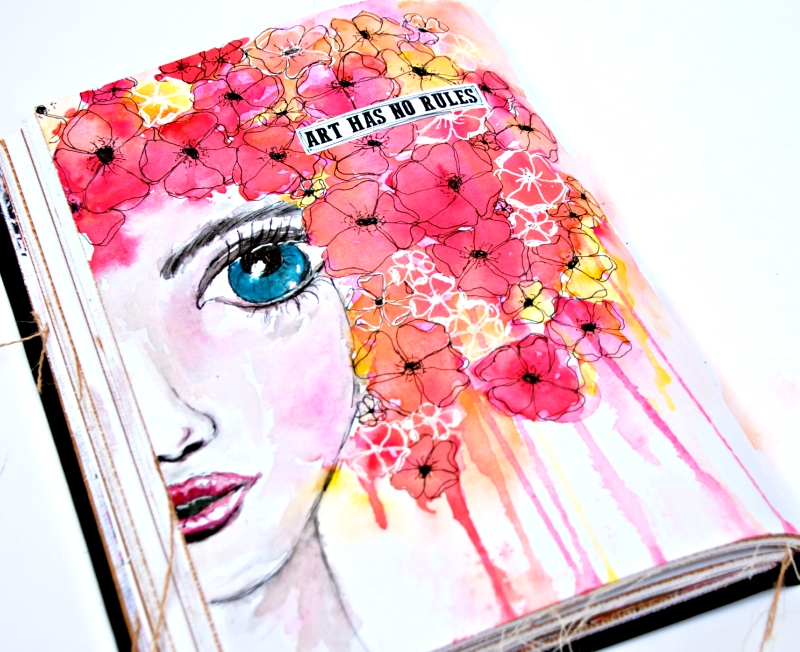


So much happier!!!

And to be honest, so much easier!!!
Sometimes simpler is better.


I then added a sticker from the Art by Marlene Whimsy Sticker book.


I have also created some watercolour cards.


I love the sunset image in the moodboard.


and I have a bit of a thing for trees....


So simple, and so great to have some cards on hand.


Ok, now I promise this is the last one for today....


I absolutely love that Tracy Scott Stencil....


I added Art by Marlene Watercolour and again allowed it to drip down the page.


I then added some 'Peach Nectar' PaperArtsy paint through the stencil using a dry baby wipe.


I then added a Dina Wakley stamp sentiment and I grabbed some black paint and flicked it onto the page and swiped it around the edges.

The final step was to add some pen marks - the secret is to work quickly!

Ok, I think I'm DONE!!

Can't wait to see what you guys come up with.

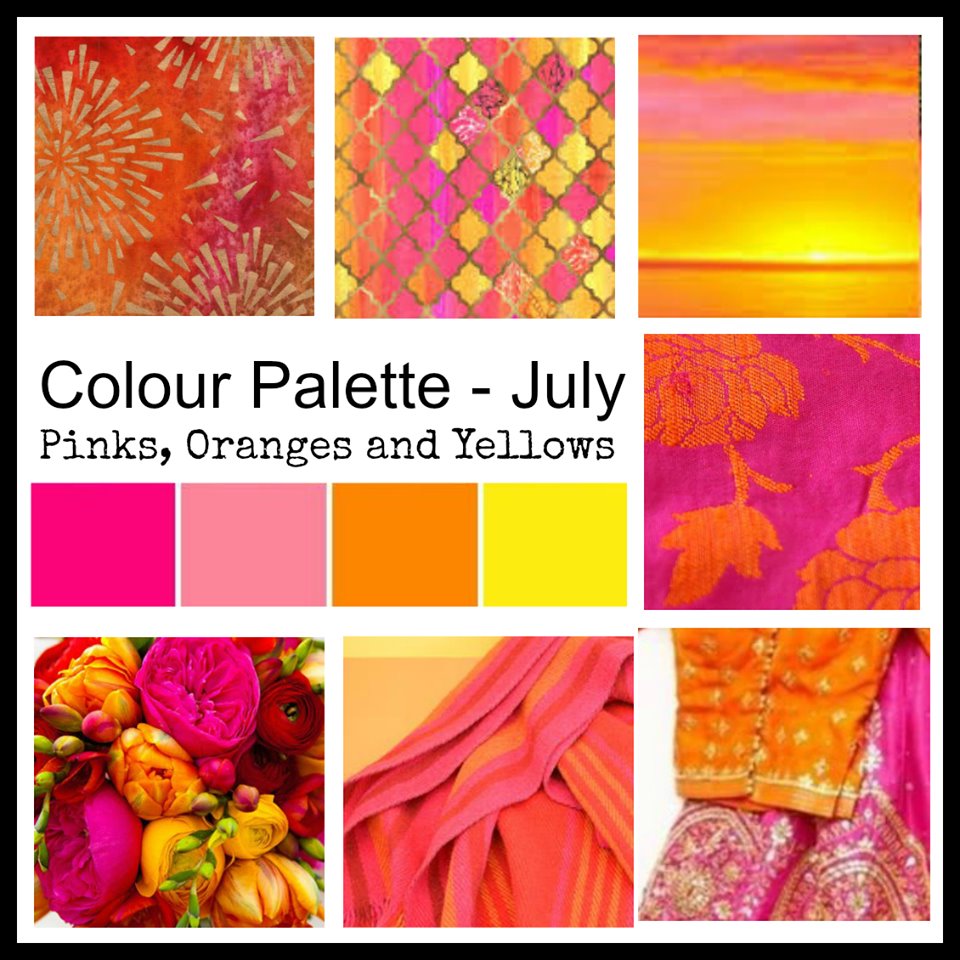
Here's the moodboard


and here's a link to the details about this months challenge.

I'll see you next month

Luv Tam
xxx


Sunday, 7 July 2019

Feathered Friend for 2Crafty

Hope you're all having a beautiful weekend!! 

Today I'm sharing my latest for 2Crafty Chipboard....


It's called:

"Feathered Friend"

So important to scrap our family pets.


I used the following 2Crafty Chipboard:
"Feathered Friend" Title
"Geometric Arrows"
"Assorted Arrows"
"NEW Aztec Feathers"
"Tree with Sparrows"


I coated the "Geometric Arrows" and "Assorted Arrows" with black acrylic paint.


To the "Feathered Friend Title" I applied white gesso and then added a teal coloured acrylic paint to the top part. 
Whilst still wet I applied yellow acrylic paint to the bottom and then blended the two colours in the centre to achieve that green colour.

I really love that ombre effect and so simple!!


I selected the colours as these are the colours of our pet budgie 'Milo',  as the photos are black and white, I felt it important to include his colours.

I even included some of his feathers - don't worry I didn't pull his feathers out, they were in the bottom of his enclosure! Lol.


I followed the same technique as above with both the gorgeous NEW 'Aztec Feathers' and the little bird from the 'Tree with Sparrows'.
I just added in some swipes of black ink and some pen marks.

How GORGEOUS are those new feathers? So much intricate detail!


Finally I painted a couple of the smaller frames from the "Polaroid Assorted Frames" with white gesso and then stamped some random triangular shapes on them, before tucking them into the layers.


That's it from me today, I'll see you next time.

Luv Tam
xxx


Wednesday, 3 July 2019

Hi lovely ones!

I've popped in today to share my first take on the current challenge over at Scrap Matrix.

You know how much I adore colour, so when our challenges are colour based, I am totally in my happy place.


All those shades of pink, orange and yellow make me so giddy.....


I love the movement that those butterflies created up the page.


Let's take a look at how this came together....


I began by grabbing some butterfly stamps...

I bought this Tracy Stamp when she came to Victor last year, and shame on me, I hadn't used it yet.....that's what gave me the idea for the page.

I am so looking forward to her new stamps, she has that gorgeous new butterfly stamp coming - I'm too impatient to wait, especially once I get an idea in my head, so I dug out this Stampers Anonymous one as it is kinda similar......


I went to town stamping them onto white cardstock.

Time to colour them in.
I'm loving my Art by Marlene watercolours in 'Bold and Bright' - so bright, so me, so I used those.

Initially I began being ultra perfect - staying inside the lines - but it didn't last long and I got messy and broke the rules! I prefer those butterflies so much more.....don't be too much of a perfectionist...being creative is about experimenting and discovering.


Time to sit in front of some Netflix whilst I cut them out.


Love those pops of colour!

I then cut out a few odd butterflies from some leftover 7Dots paper.
Of course I had to colour them.


Next I decided to make some of my own paper....
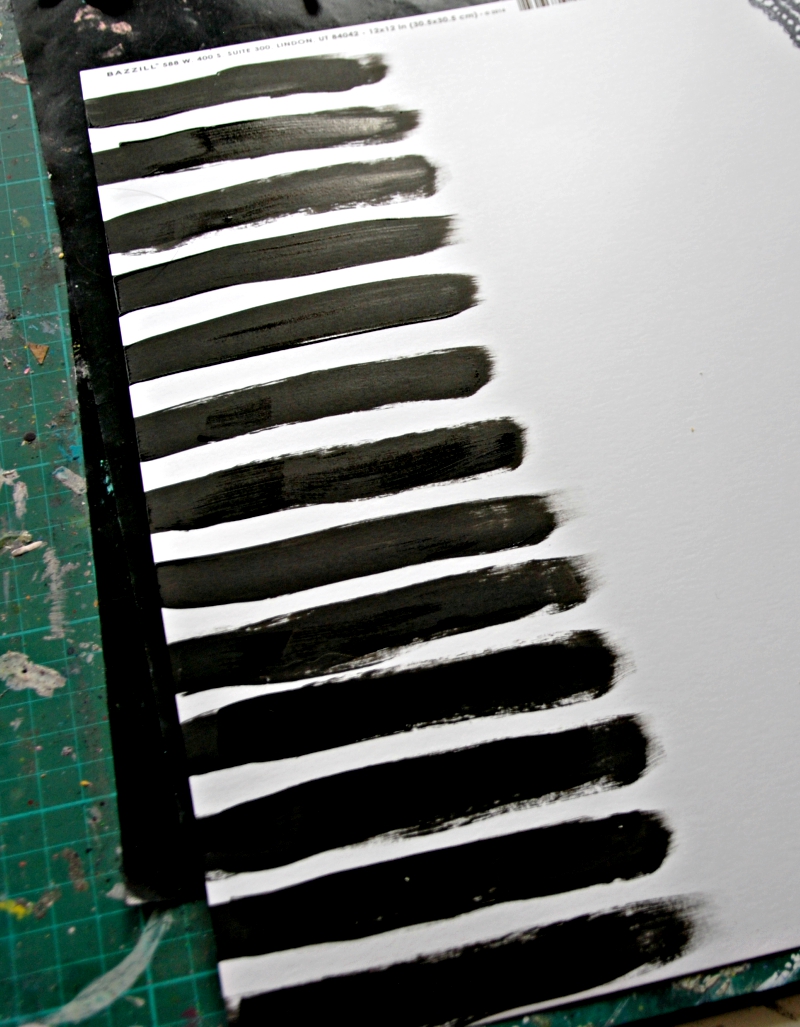
I just grabbed some black paint and a brush and painted some lines.


Quick and easy and again, imperfect.

So now it's time to work on the background...


Once dry, I again added watercolour paint...


Now time to add in that striped paper I created....


I also added strip from a leftover piece of Pink Paislee

Before adding the strips.....I added a strip of Washi Tape....


Now I add the strips, ensuring they are curled and torn along the edges....


Time to add the photos, and add a few tags, cut from scraps...

I also added in my title and journaling first.....I used some of the alpha stickers from the Art by Marlene Whimsy Sticker pack.
I added a few bits and pieces in, just to give me a guide for the butterflies....you see I was worried that once I added the butterflies, I wouldn't know when to stop and I'd have nowhere for anything else.


I also added a few flicks of black paint, just to tie in those bold stripes.

Ok time to go nuts with those butterflies!!


The best way to stick them on is to use matte gel.


Just a bit down the centre of each butterfly is all you need, and that enables the wings to sit up and have some dimension.


To finish it off, I tucked some guaze around the photos.


That's it today!!


Another bright, happy layout.

If you'd like to join in this month, all you need to do is create something based on our colour moodboard and then upload it to the corresponding album over on the Facebook Scrap Matrix Shares Page. Just let us know in the comments what Scrap Matrix products you used!

So simple!!


Stampers Anonymous Stamp 
Dylusions Washi Tape
7Dots Paper - Nature's Garden